-1.png?height=120&name=Boutir%20new%20logo%20(White)-1.png)
How to create a customized page?
- Login to Boutir Admin (https://www.boutir.com/business)
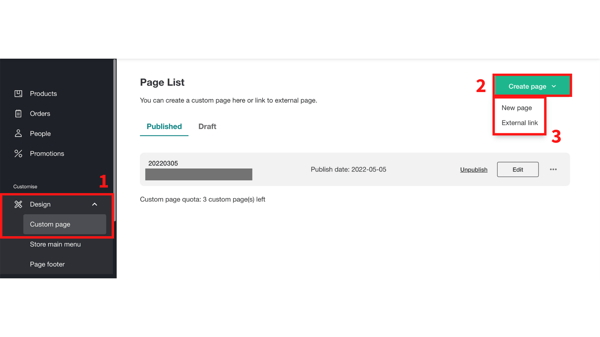
- Click “Design” > “Custom Page” > “Create Page” > “New Page”

- After entering the name and URL of your page, click “Confirm”
Note: After adding this page to your header menu, the name will be visible on your online store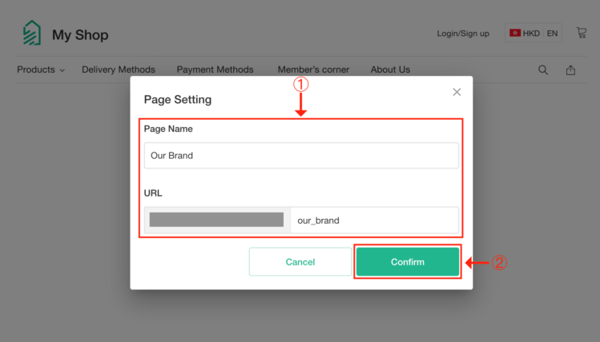
- To edit the name and URL, click “⚙️” at the top of the page

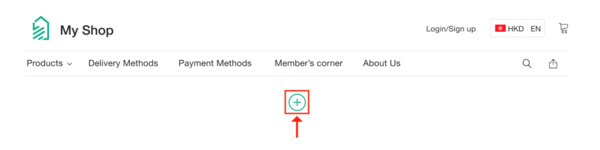
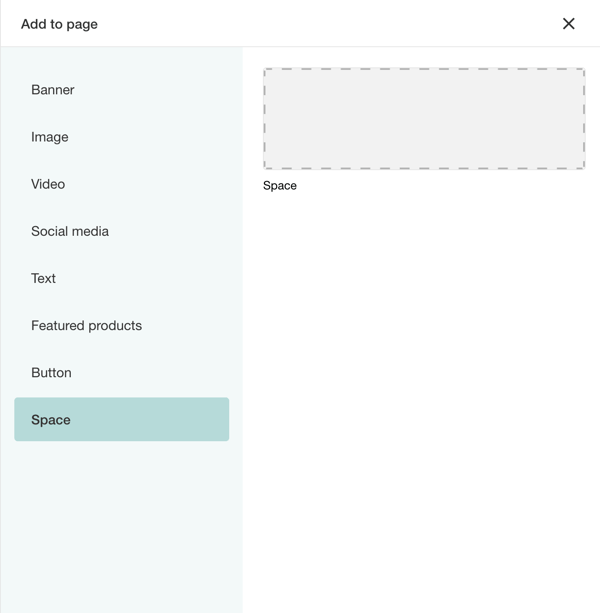
- To add a new component to your page, click the green “⊕” that is a little lower on the page
- You can add the following components to your page:
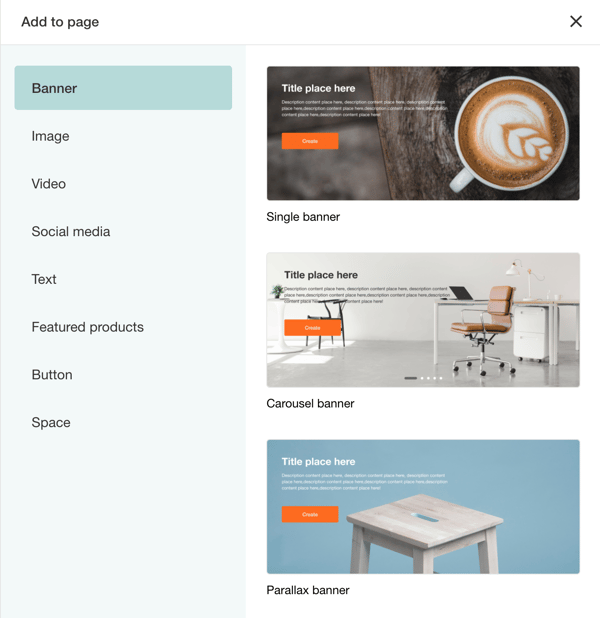 Banner - You can add text and a button on it
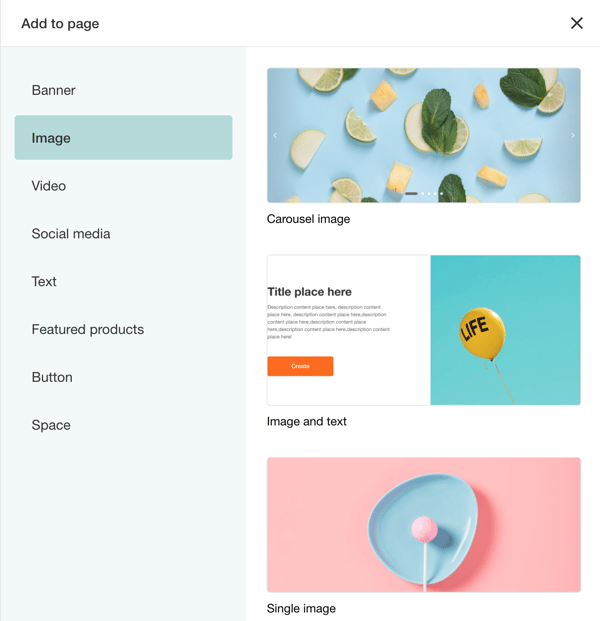
- Image – When uploading your image, please make sure it meets the recommended ratio; You can add at most 6 images with corresponding hyperlinks for each component
- Video
- We have a new feature where you can now easily add live streams and shoppable videos where you can tag products! You would be directed to the Firework studio where its AI will aid you in the editing process
- The feature will transform a long-form and horizontal video into a short-form and vertical Web Story
- You can also embed your YouTube video on the page

- We have a new feature where you can now easily add live streams and shoppable videos where you can tag products! You would be directed to the Firework studio where its AI will aid you in the editing process
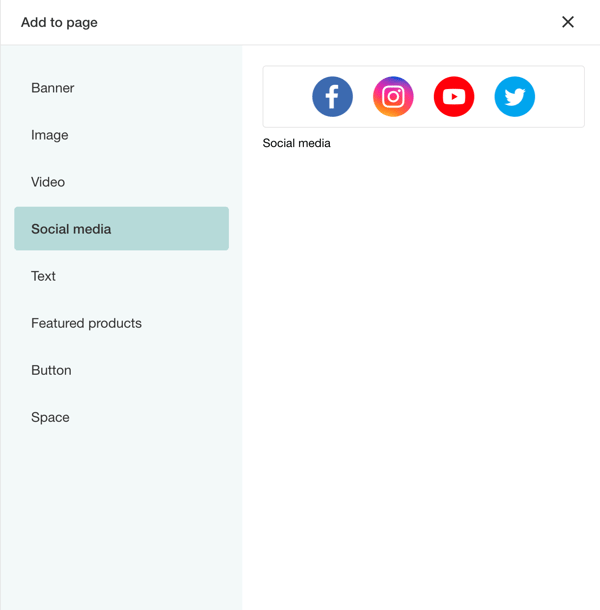
- Social Media – Visitors can be redirected to your social media platforms after clicking corresponding buttons

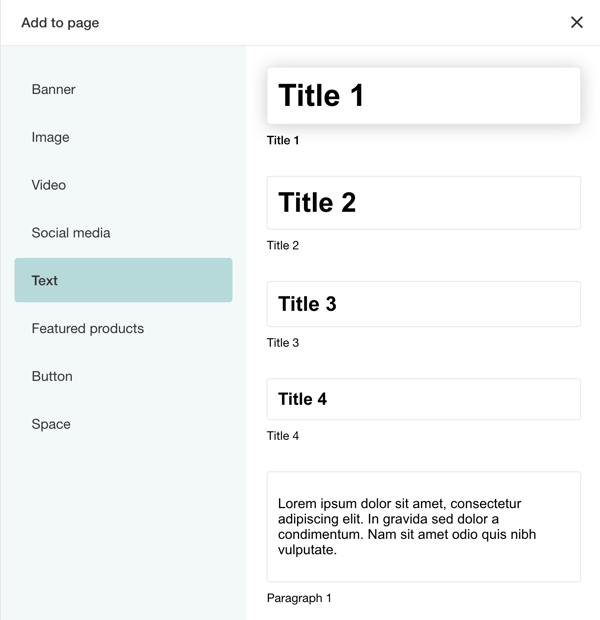
- Text - The title text boxes are available in 4 sizes, while the paragraph text boxes are available in 3
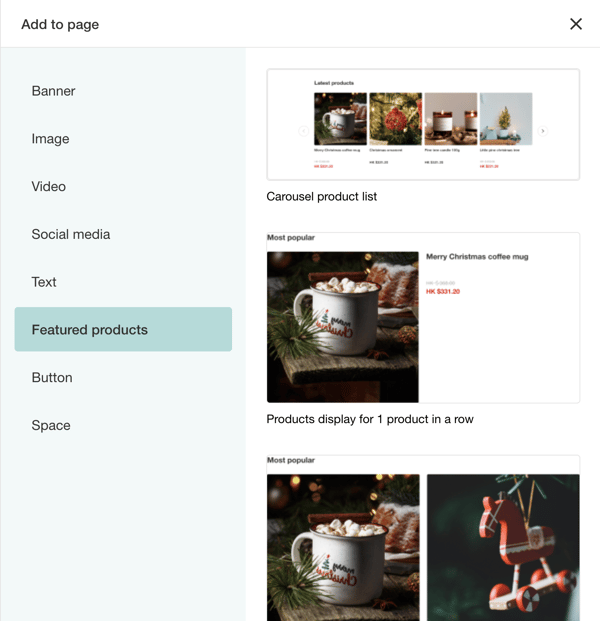
- Featured products – You can showcase featured products on the page
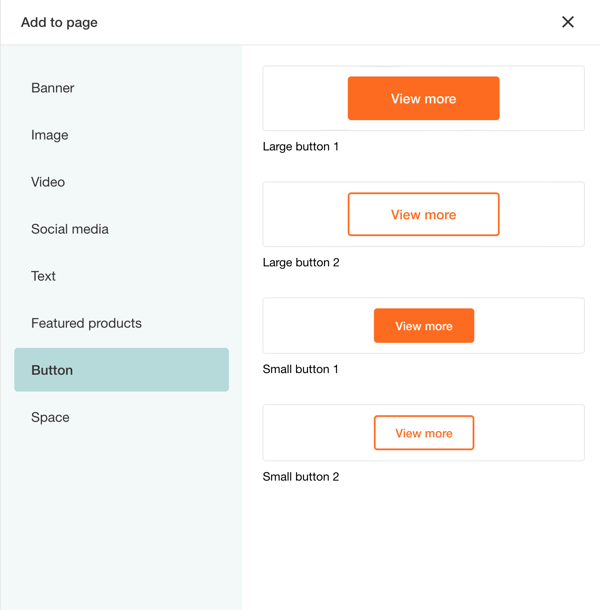
- Button – It is available in 4 sizes
- Space – This is useful for separating your components
- After the setting is completed,
- Click “Preview” to see how your page will be displayed, or

- Click “Save”, and you will see the following message – “Save successfully”. That means your draft is saved; or

- Click “Publish” > “Confirm”, and you will see the following message – “Publish successfully”. That means your page is published

- Click “Preview” to see how your page will be displayed, or
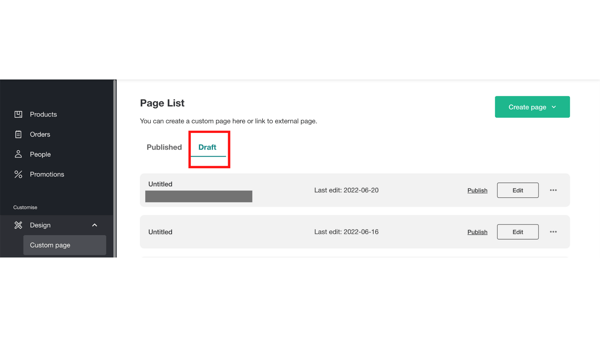
- To edit or publish your draft, click “Design” > “Custom Page” > “Draft” to find the related page
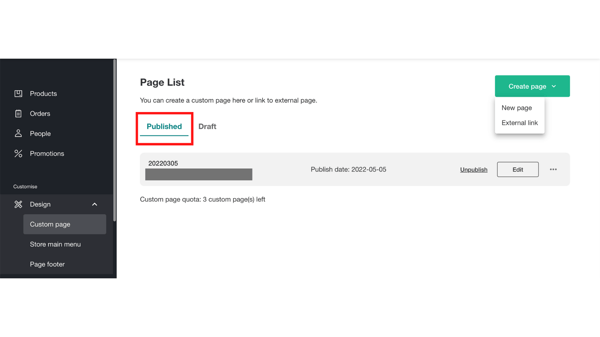
- To edit or unpublish your page, click “Design” > “Custom Page” > “Published” to find the related one
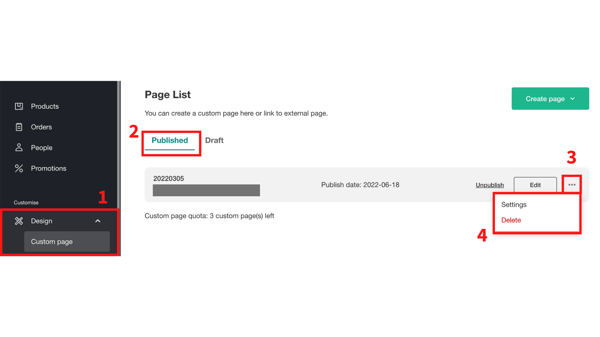
- If you want to delete your page, or edit its name and URL, click “Design” > “Custom Page” > “Published” > “⋯” to take the corresponding action
How to create an external link for your customized page?
- Login to Boutir Admin (https://www.boutir.com/business)
- Click “Design” > “Custom Page” > “Create Page” > “External Link”
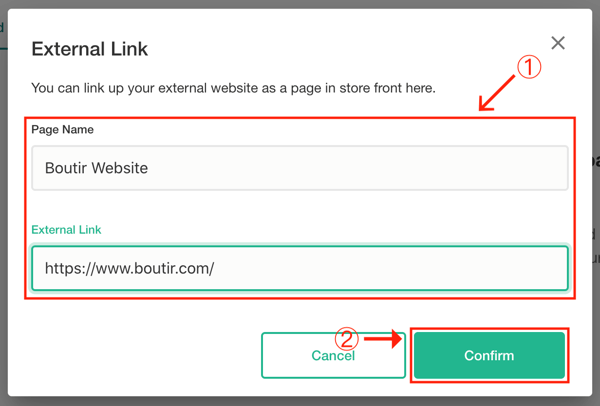
- Enter the name and URL of your external link, then click “Confirm”
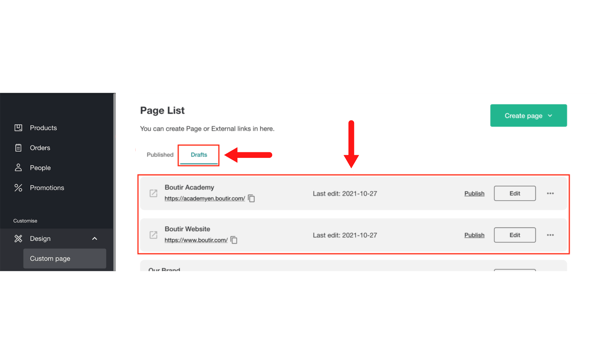
- To edit or publish your draft, click “Custom Page” > “Drafts” to find the related external link
- To edit or unpublish your external link, click “Published” instead of “Drafts”
- To edit or unpublish your external link, click “Published” instead of “Drafts”
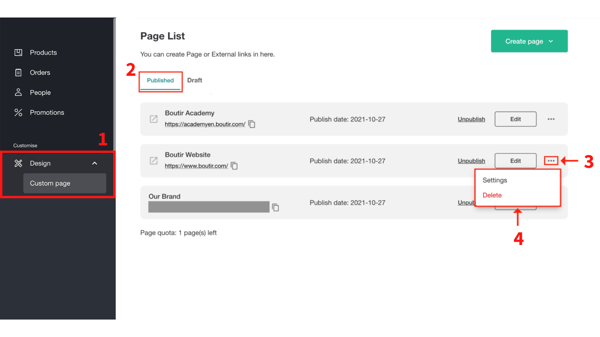
- If you want to delete your external link, or edit its name and URL, click “Custom Page” > “Published” > “⋯” to take the corresponding action
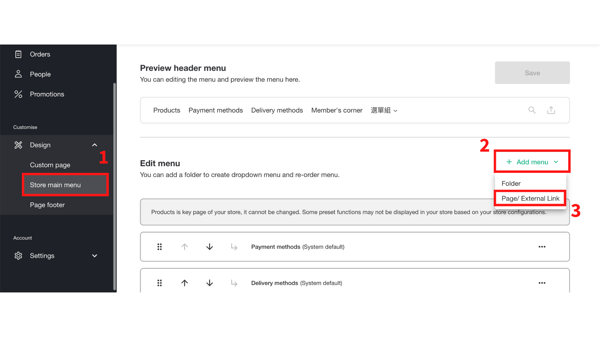
How to change the setting of your header menu?
- Login to Boutir Admin (https://www.boutir.com/business)
- Click “Design” > “Store main menu” > “+Add Menu” > “Page/ External Link”
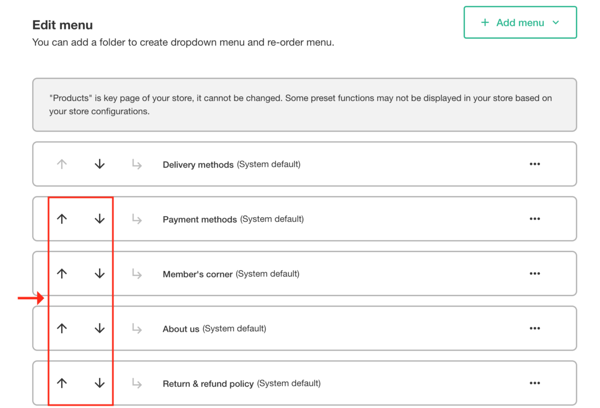
- Check the boxes for the pages that you want to add to the header menu, then click “Add”

- To change the sequence of your header menu, click “⬆” or “⬇”
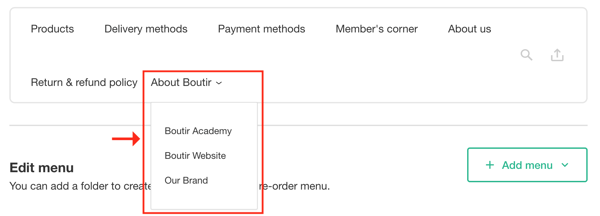
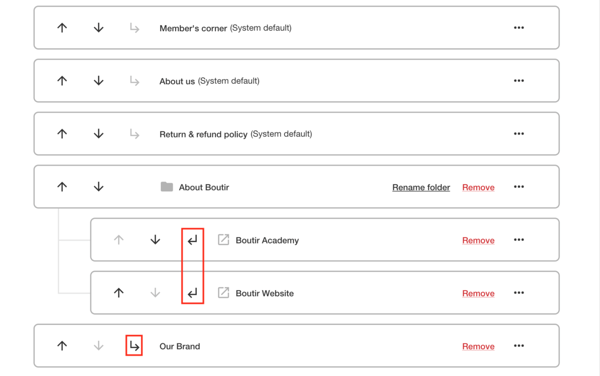
- To create a drop-down menu like this:
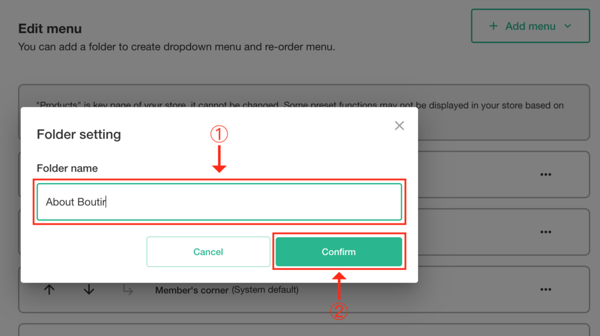
- Click “+ Add menu” > “Folder”
Note: A folder isn’t a single page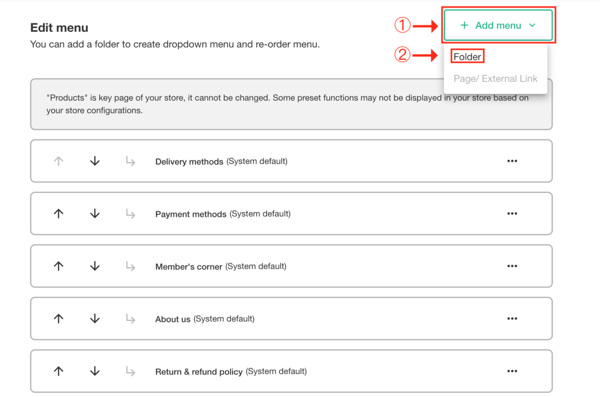
- Enter the folder name, then click “Confirm”
- You can click “↳” to add a page or an external link to the drop-down menu, and “↲” to remove them from the menu
- Click “+ Add menu” > “Folder”
- You can instantly view the changes in the “Preview header menu” section; After the setting is completed, click “Save” to save the changes

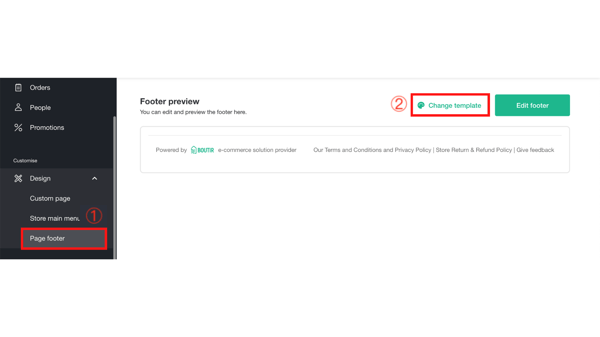
How to change the setting of your footer?
- Go to Boutir Admin, click “Design” > “Page footer” > “Change template”
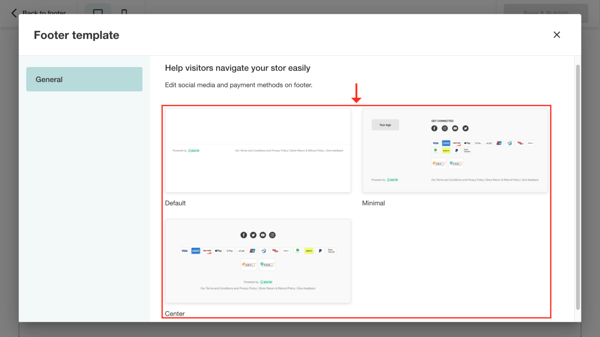
- Select a template
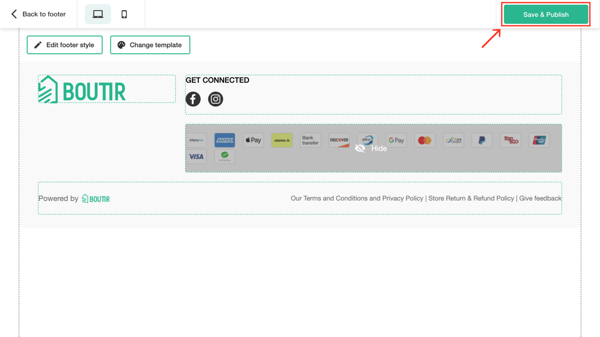
- You can change the template setting by clicking the following button or components:
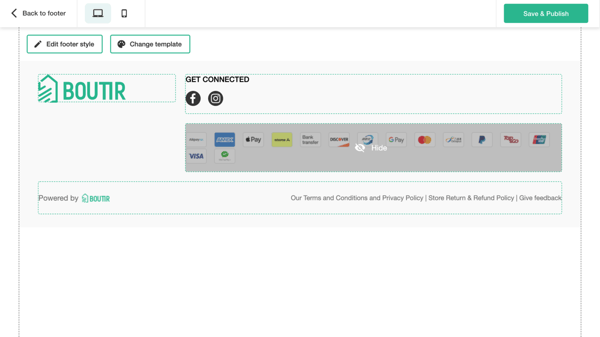
- “Edit footer style” to change the background and title color

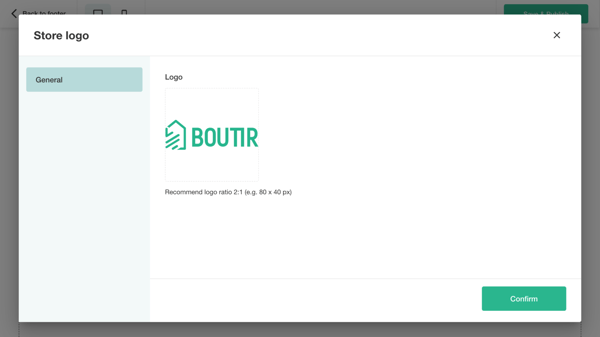
- Store logo (only applicable for the template “Minimal”)
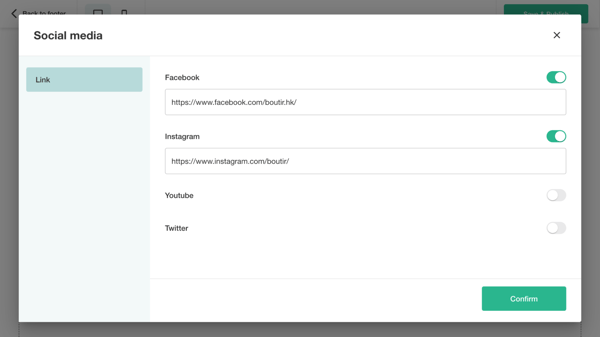
- Social media
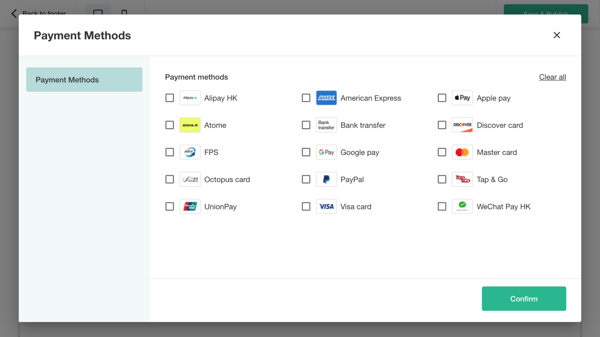
- Payment methods (*Please only choose the methods that you have activated already)
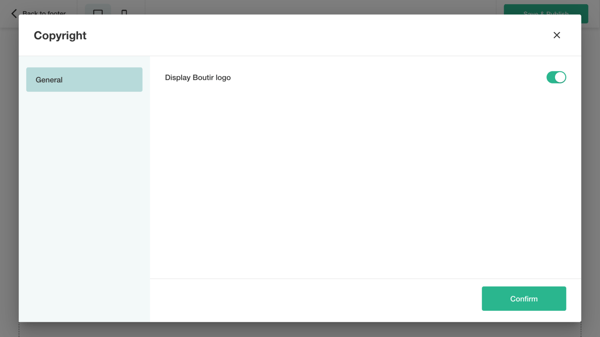
- Copyright (*Business plus plan subscribers can decide if they display our logo at their footer by clicking “Settings” > “Appearance” > “Store front” in our desktop CMS. However, if they have changed the footer setting using this feature, it shall prevail.)
- “Edit footer style” to change the background and title color
- After the setting is completed, click “Save & Publish”
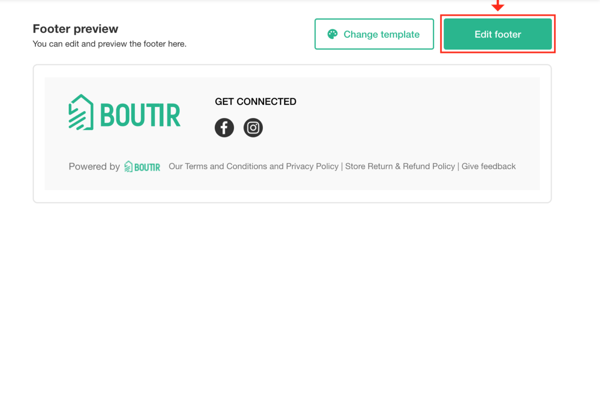
- If you need to change the setting, click “Edit footer”
Note:
- Each eligible merchant can publish at most 10 customized pages for their store
(This tutorial is for reference only. If there is any update on the feature, its latest version shall prevail.*)