-1.png?height=120&name=Boutir%20new%20logo%20(White)-1.png)
This article provides a step-by-step guide on how to convert EasyStore product list to Boutir product list in excel file xlsx
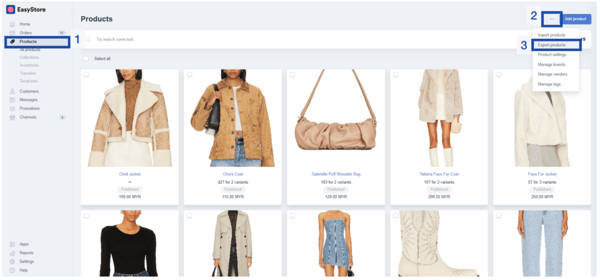
STEP 1: Login to EasyStore Admin EasyStore Admin > Products > 3 Dot icon > Export products
STEP 2: Choose the products and select excel file xlsx as the format for exporting your products.

STEP 3: Once done, save the file in .xlsx format. Choose a location on your computer and give it a recognizable name.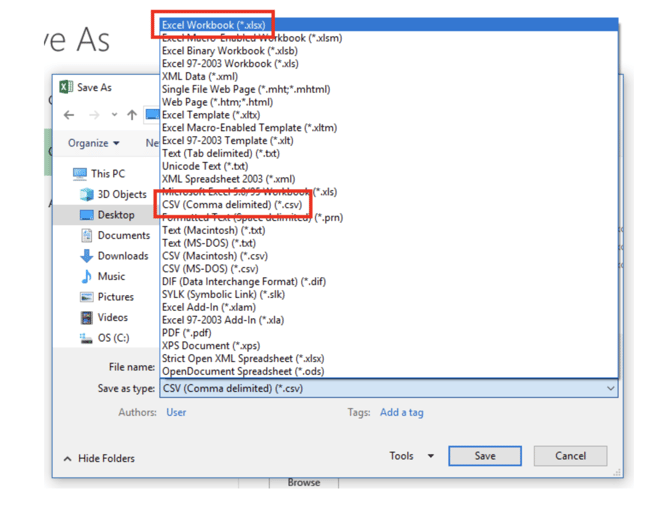
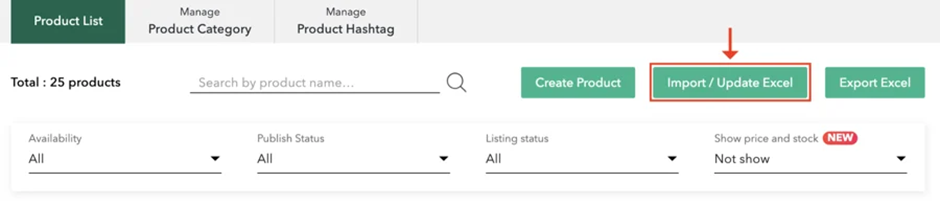
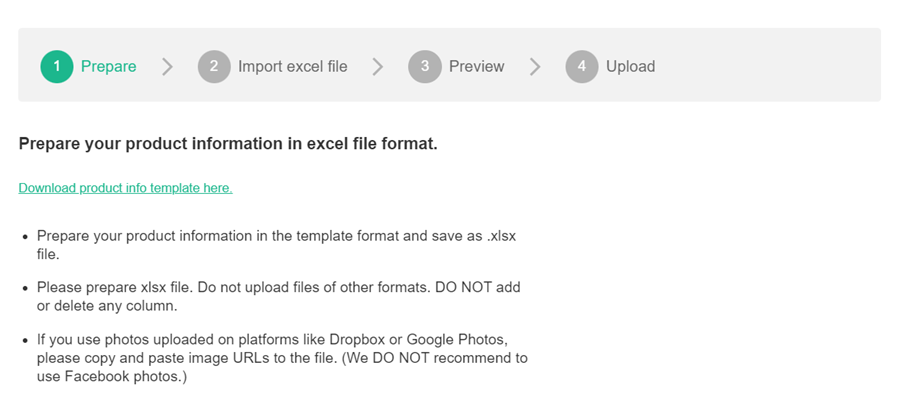
STEP 4: Login to Boutir Admin: Go to (https://www.boutir.com/business). On the “Product List” page, click “Import / Update Excel”.
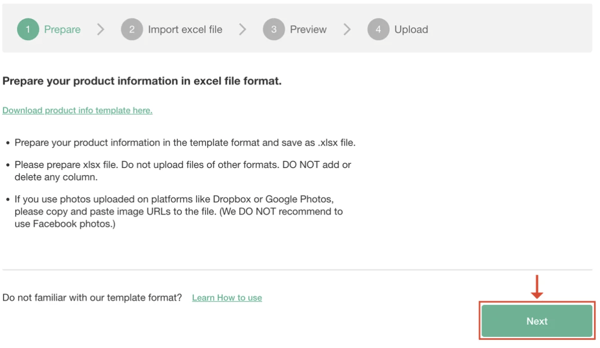
STEP 5 : Download template: Click “Download product info template here”
STEP 6 : Copy & Paste product information: Open the EasyStore product .xlsx file, copy the relevant product information and paste into the Boutir product .xlsx template.
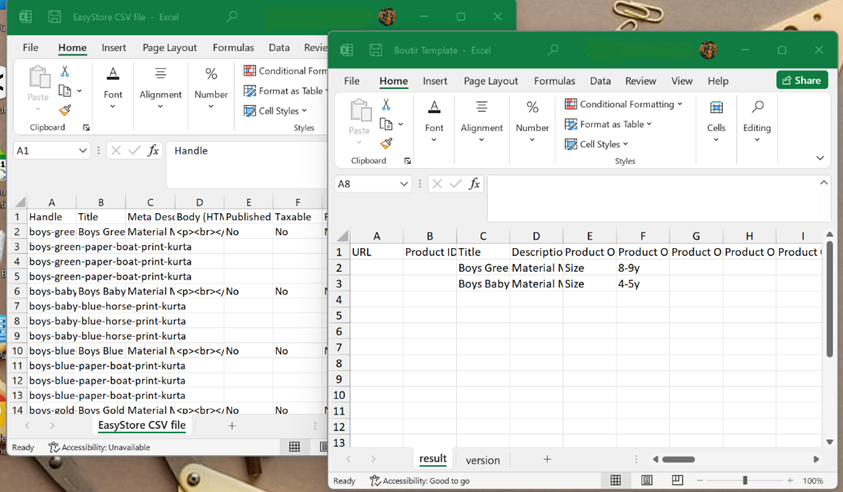
- If you're unsure how to transfer the data from an EasyStore xlsx file into your Boutir xlsx file, refer to the comparison table below for the right column to copy and paste.
Example:-
|
EasyStore product .xlsx file |
Boutir product .xlsx file |
|
Title |
Title |
|
Meta Description |
Description |
|
Image 1 |
Image URLs |
|
Option 1 Name |
Product Option 1 - Type |
|
Option 1 Value |
Product Option 1 - Name |
|
Inventory |
Stock |
|
Price |
Price |
|
Weight (kg) |
Weight (kg) |
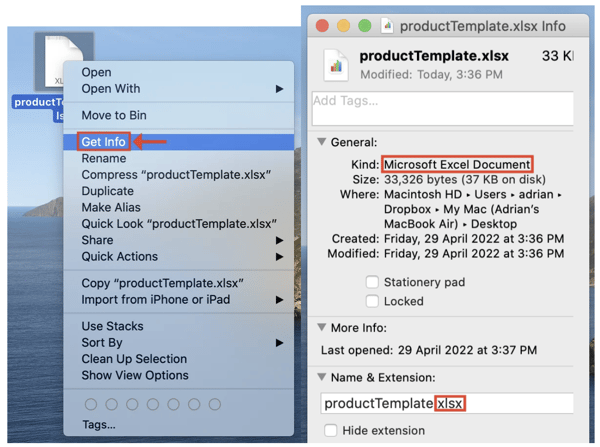
STEP 7 : Save the template as a .xlsx file after filling in all the information. Please do NOT save the file in other formats. You may check the file through the following steps:
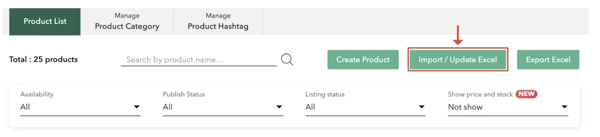
STEP 8: To import the xlsx file, go back to Boutir desktop CMS and click “Import/ Update Excel” on the “Product” page
STEP 9 : Click “Next”
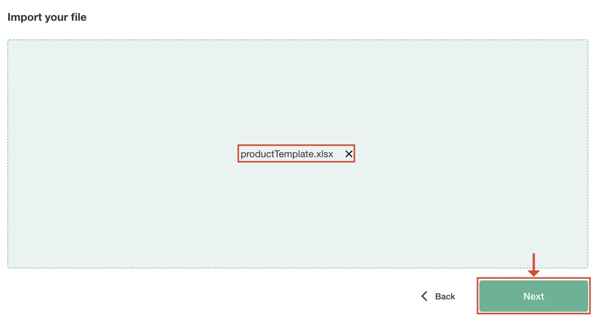
STEP 10 : Click “⊕” or drag and drop a file into the box. When the file name is displayed, tap “Upload”
STEP 11 : Once the system has processed the file, the product information will be displayed on the screen. After you have checked the data, please click “Upload”.
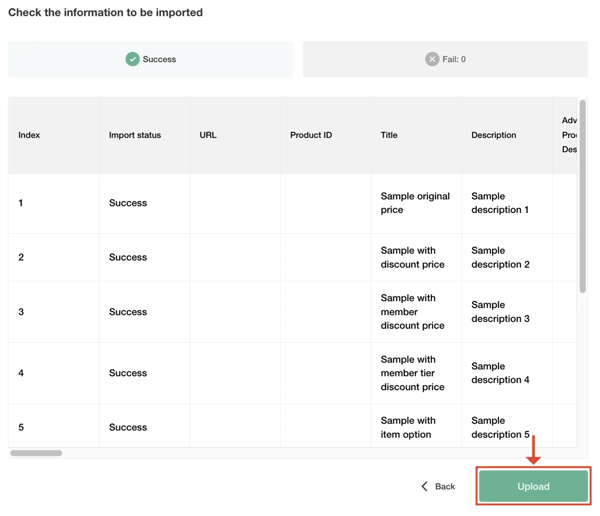
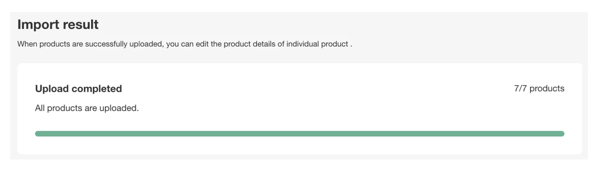
STEP 12 : When you see the following message, it means all imported products have successfully been uploaded.